
Taieri Gorge Railway
54 photos
A trip up the Taieri Gorge Railway from Dunedin to Pukerangi and return, and a look around Dunedin station
Go to previous page
Reached the beginning of the gallery

DJ 3107 and DJ 1222 pass back over another viaduct
7 July 2016

The train slows for a speed restriction as it passes over a viaduct
7 July 2016
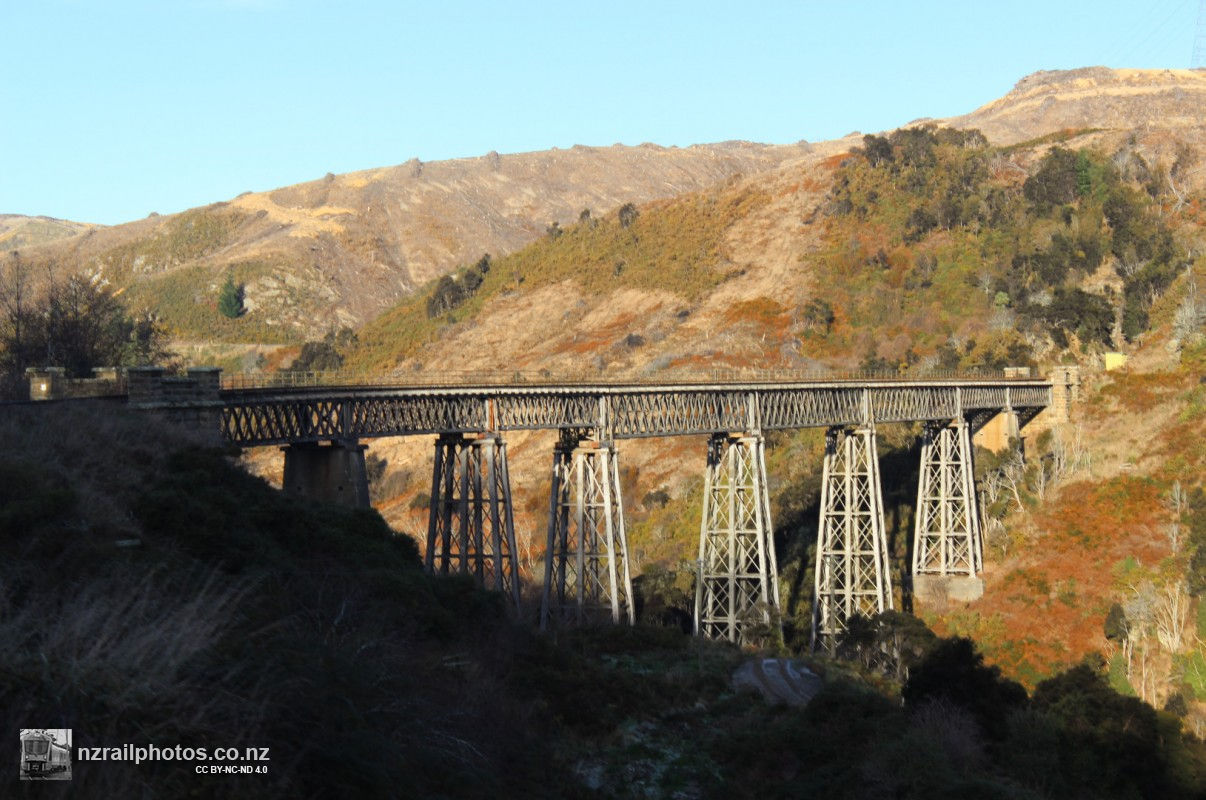
Near the end of the line, Wingatui viaduct can be seen
7 July 2016

DJ 3107 and DJ 1222 lead the train back across the Wingatui viaduct near journey's end
7 July 2016

The train travels back over the Wingatui viaduct
7 July 2016

Back at Dunedin station, DJ 3107 and DJ 1222 are uncoupled from the train and run around the train to be stabled overnight
7 July 2016
Loading more...
Could not load more photos.
Reached the end of the gallery
Search
Sort
Licencing

All photos and videos on this site are licensed under a Creative Commons Attribution-NonCommercial-NoDerivatives 4.0 International License.
Attribution to https://nzrailphotos.co.nz is required. If you wish to use photos for commercial use or for an exception to this licence, please seek permission first. Fees may apply.